By continuing to use the website or clicking Accept you consent to our cookies and personal data policy and confirm that you are at least 18 year old. For details please see Privacy Policy and Terms
xMuuy Second grow now on the way with 3 plants this time!
We're planning on trying out different growing methods since we've got a pack of 3 seeds.
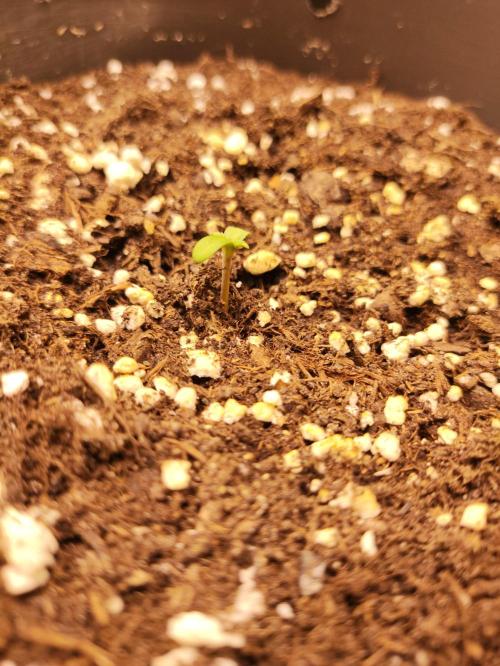
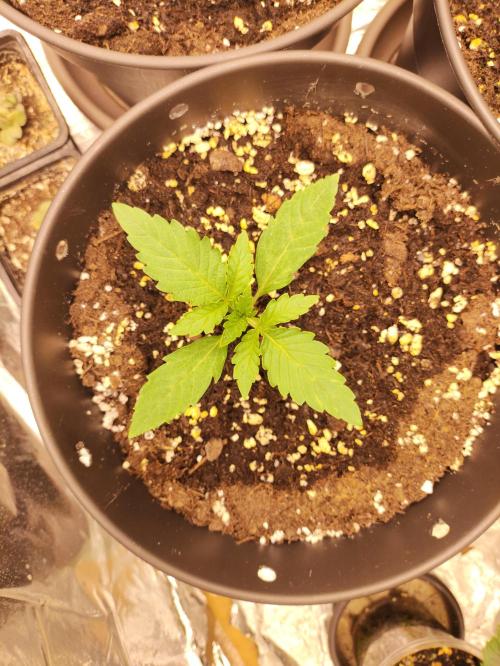
Germination took 3 days for all seeds.
This plant is #1/3.
Our plan with that one is training her using the same LST method we used on our first ever grow as well. We will be bending her to one side and tethering her branches to the edges of the pot using rubber covered wire. By using some plastic stretchers we will continue to shape her in order to grow a bushy plant with lots of big buds.
1 like
comments
Share
Used method
Directly In Substrate
Germination Method
1
Week 1. Vegetation
1mo ago
1/3
7 cm
Height
18 hrs
Light Schedule
28 °C
Day Air Temp
No Smell
Smell
55 %
Air Humidity
20 °C
Solution Temp
25 °C
Night Air Temp
4.4 L
Pot Size
60 cm
Lamp Distance
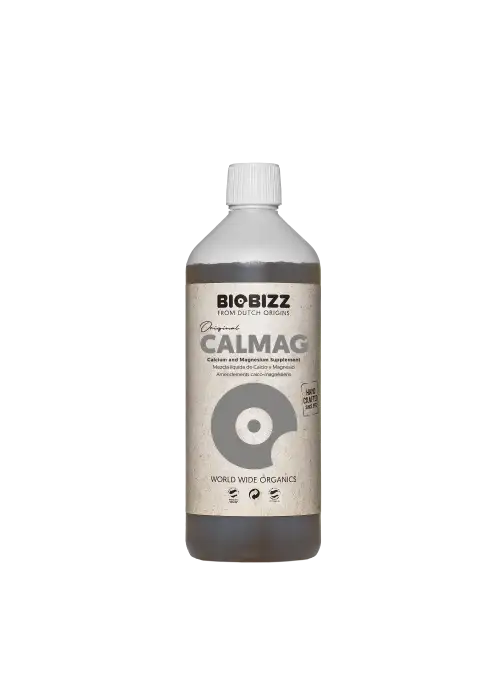
Nutrients 1
Calmag
1 mll
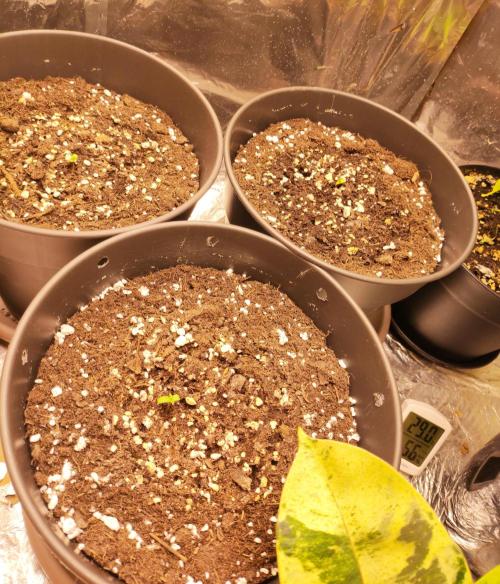
xMuuy Our little ones are growing rapidly!
We passed the first week and everything is looking pretty.
Included CalMag into every watering due to our osmosis system.
This is plant #1/3.
No huge difference noticable compared to the other two plants. She is just a little shorter than the others.
likes
comments
Share
2
Week 2. Vegetation
25d ago
1/3
9 cm
Height
18 hrs
Light Schedule
28 °C
Day Air Temp
No Smell
Smell
55 %
Air Humidity
20 °C
Solution Temp
25 °C
Night Air Temp
4.4 L
Pot Size
57 cm
Lamp Distance
Nutrients 1
Calmag
1 mll
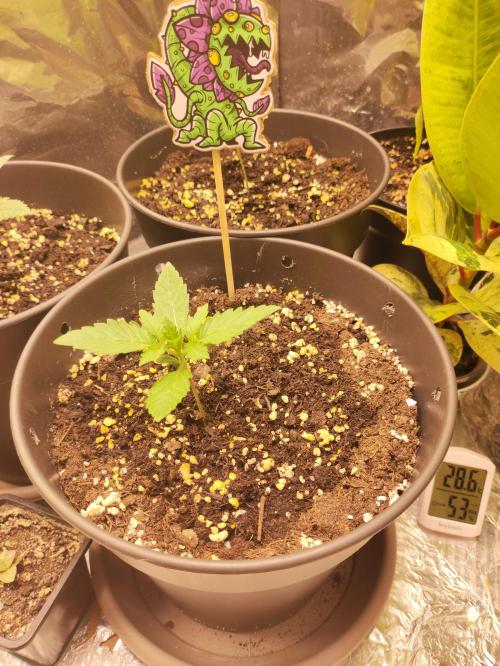
xMuuy Second week of our Apple Fritter Experiment!
Our Ladies are still growing strong, increasing in height every day. No problems occured so far, everything's going as planned.
We spotted an increase of red colouring inside of the petioles of plant #2 compared to the other ones! Might be the first indicator of a different phenotype?
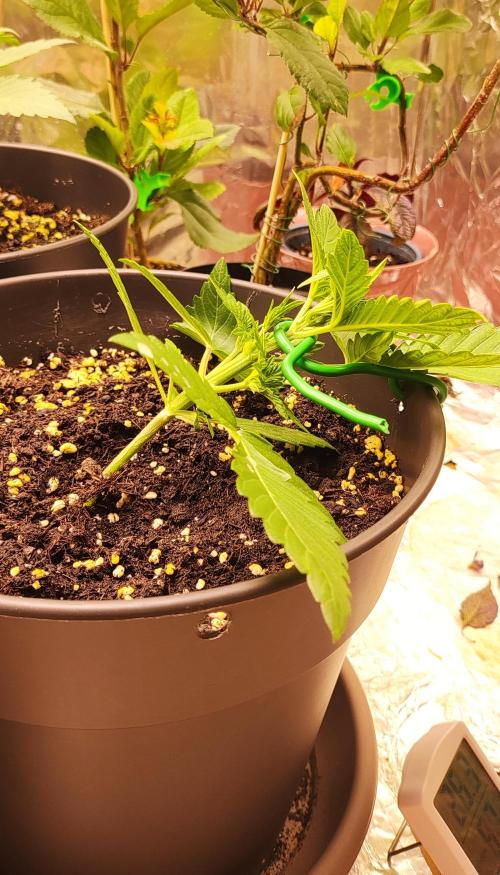
This is plant #1/3.
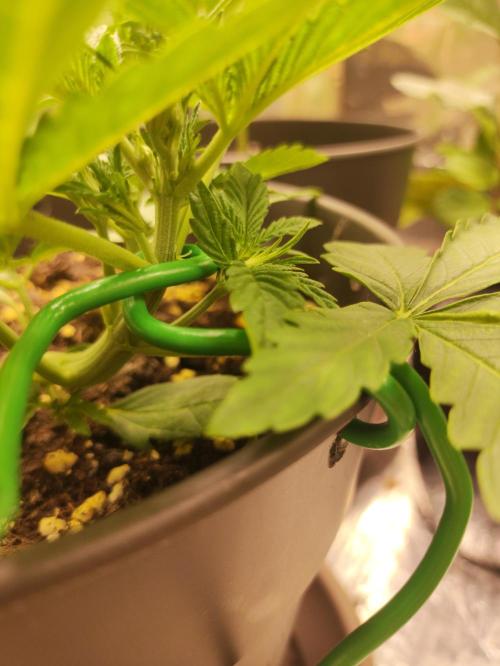
We began LST earlier this week by bending her down using some rubber covered wires. Removed one of the larger leaves that would be in the way of new upcoming shoots.
likes
comments
Share
Used techniques
LST
Technique
3
Week 3. Vegetation
18d ago
1/4
17 cm
Height
18 hrs
Light Schedule
26 °C
Day Air Temp
No Smell
Smell
55 %
Air Humidity
20 °C
Solution Temp
22 °C
Night Air Temp
4.4 L
Pot Size
40 cm
Lamp Distance
Nutrients 3
Calmag
1 mll
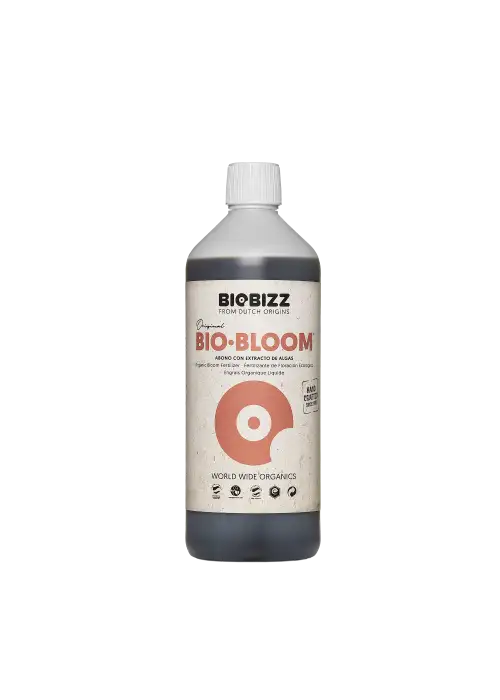
Bio-Bloom
0.3 mll
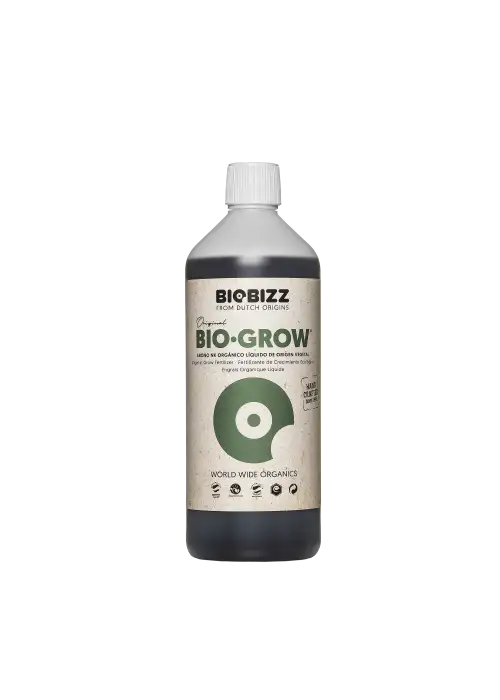
Bio-Grow
0.5 mll
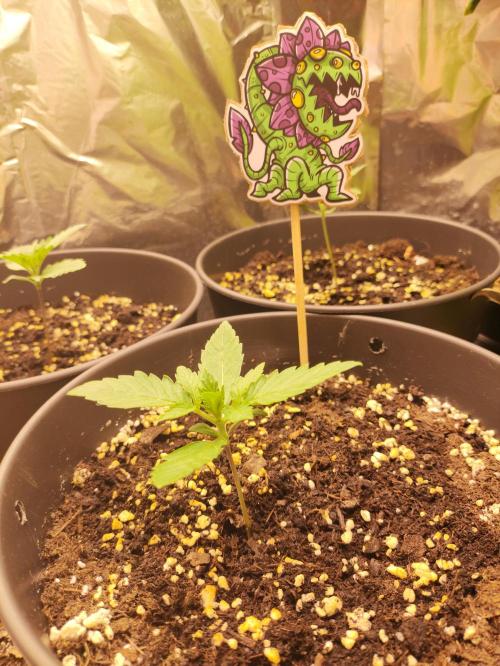
xMuuy Just look at these fine ladies!
All of them are growing nicely, even showing signs of early flower phase already.
#3 was getting a few yellow spots on the tips of the leaves, which indicated nutrient deficiency, so we included some in the watering for all plants; additional to the already provided CalMag.
We have to constantly monitor and adjust the lamp, so #3 doesn't grow too closely to it. Since the other two would be too far away from the light source, we made sure to place them in an elevated position.
This is plant #1/3.
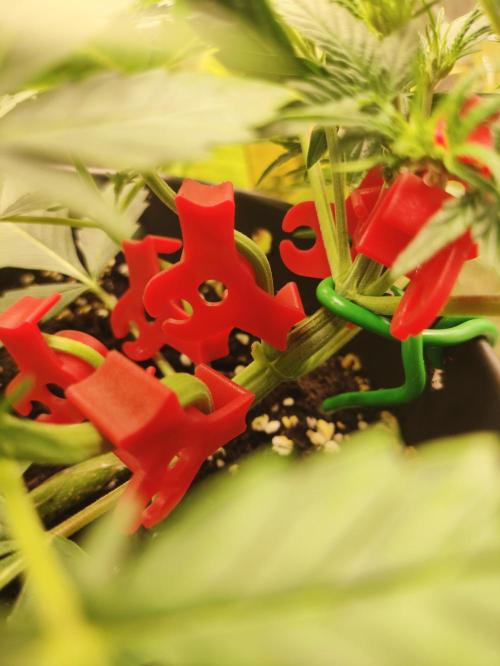
We continued LST by tightening the rubber wire that pulls the main branch to one side of the pot and bending the other ones by using plastic stretchers. Removed some larger leaves that could get in the way of possible new branches underneath.
likes
comments
Share
Used techniques
LST
Technique
4
Week 4. Flowering
11d ago
1/4
26 cm
Height
18 hrs
Light Schedule
25 °C
Day Air Temp
Weak
Smell
60 %
Air Humidity
20 °C
Solution Temp
22 °C
Night Air Temp
4.4 L
Pot Size
33 cm
Lamp Distance
Nutrients 4
Calmag
1.5 mll
Bio-Bloom
4 mll
Bio-Grow
1 mll
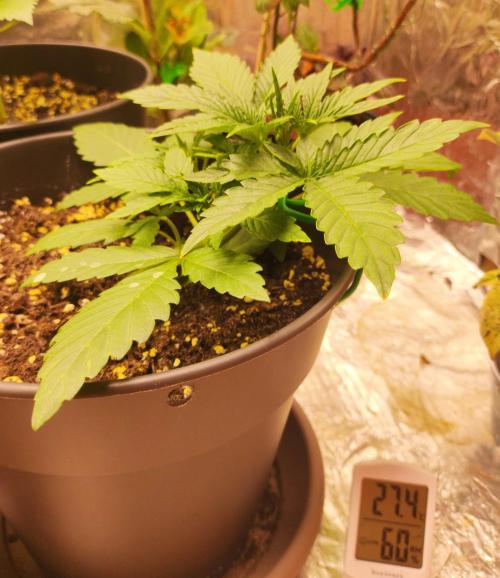
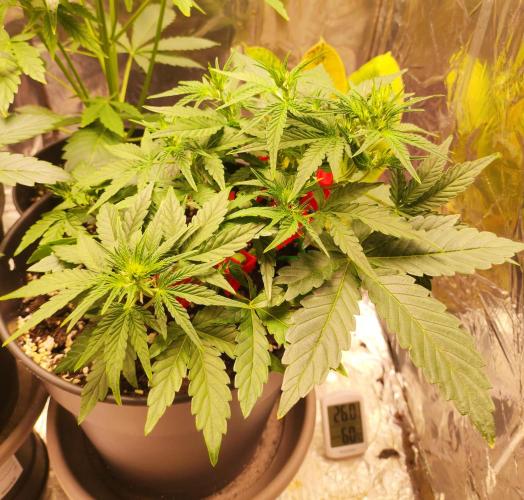
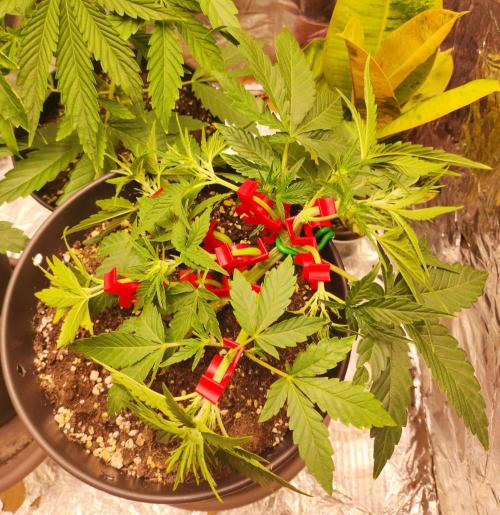
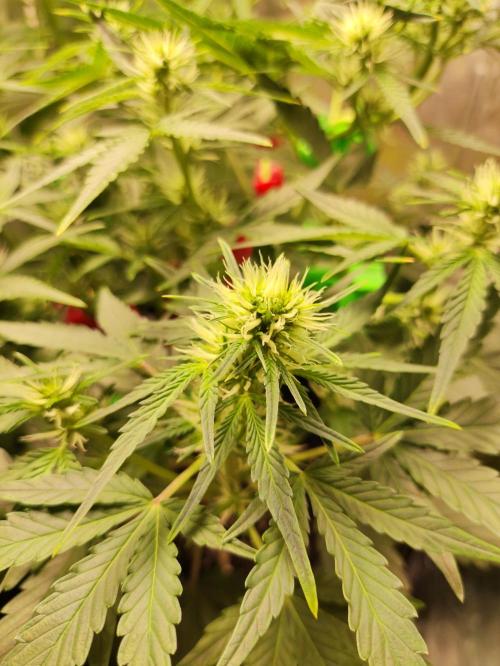
xMuuy Week 4 is flower-week!
All of our ladies showed signs of pre-flower last week, now there are already visible buds growing.
We had to adjust the height of #1 & #2 once again because #3 is just growing crazy. Can't go any higher than the current position without redesigning our whole setup so this will be the final adjustment (hopefully!).
#2 is obviously very different from the other ones, she's a little behind in growth. Though, she does have outstanding red colored petioles in comparison to her mostly just green sisters.
We increased the amount of nutrients for them since they'll need much more now.
This is plant #1/3.
You can already tell she's got more bud-growing spots thanks to the training. Consistantly removing some bigger leaves, which would cast a shadow on the buds growing underneath.
likes
2 comments
Share
Used techniques
LST
Technique
Defoliation
Technique
5
Week 5. Flowering
4d ago
1/3
30 cm
Height
18 hrs
Light Schedule
23 °C
Day Air Temp
Weak
Smell
55 %
Air Humidity
20 °C
Solution Temp
20 °C
Night Air Temp
4.4 L
Pot Size
30 cm
Lamp Distance
Nutrients 4
Calmag
1.5 mll
Bio-Bloom
4 mll
Bio-Grow
1 mll
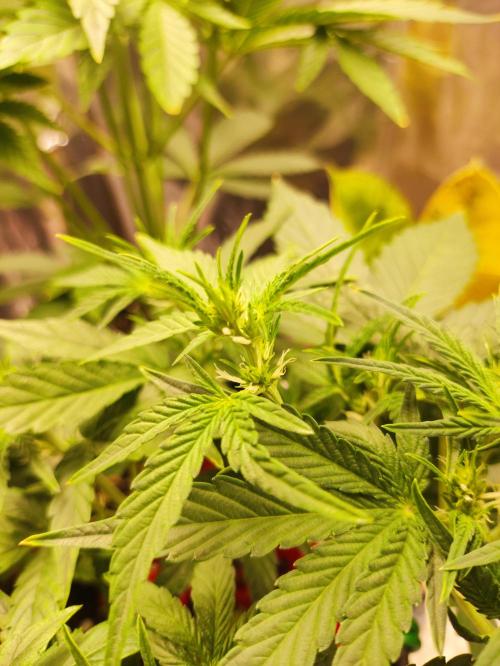
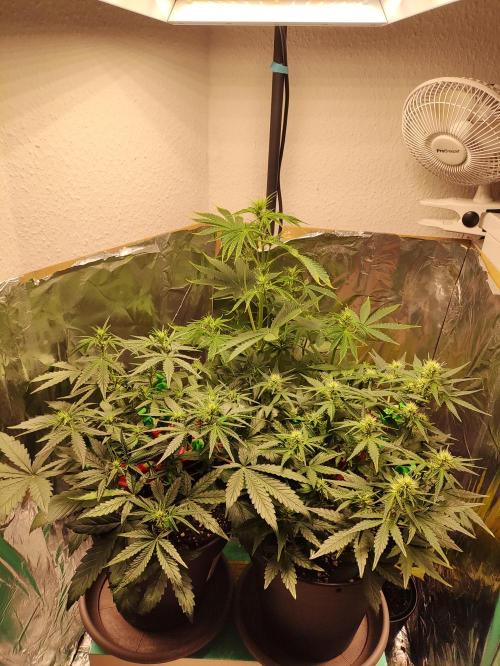
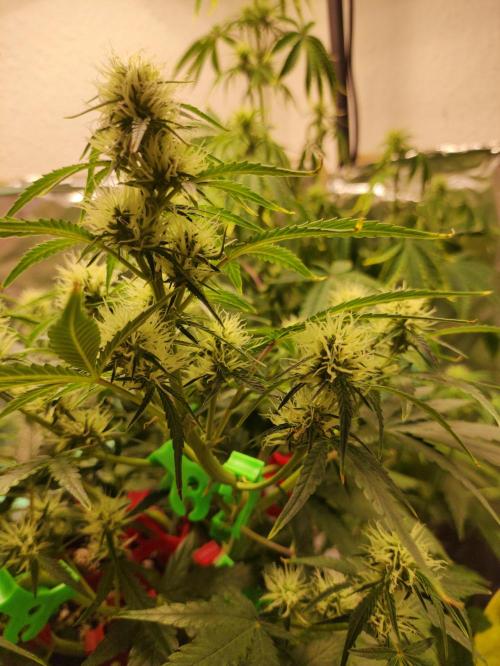
xMuuy Welcome to week 5!
#1 and #3 are developing the same red-coloring on their petioles like #2 did from the very beginning!
Buds are growing nicely, getting visibly bigger everyday. Smell went from a rather unpleasant sweet-sour aroma to an almost pure sour scent.
We set the humidity to 55% for all of our ladies to prevent budrot, since they are definitly in flower right now (big shoutout to our dehumidifier working his butt off). We noticed, that we need to water them more often; we just checked the pots and were greeted by a very dense rooting system. Being used to a big 20L pot we didn't expected that kind of thirstiness!
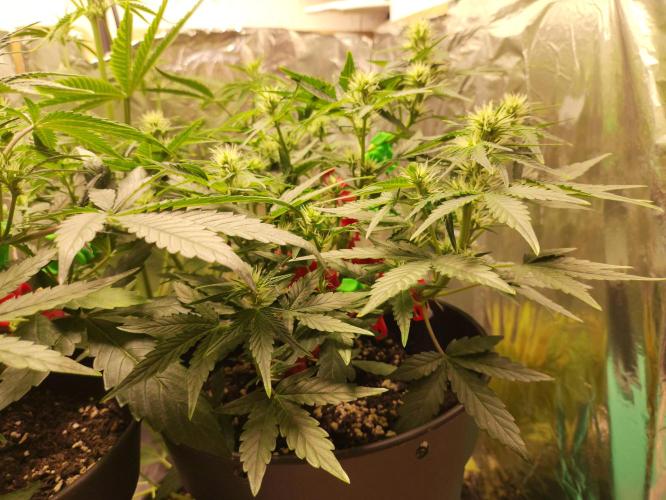
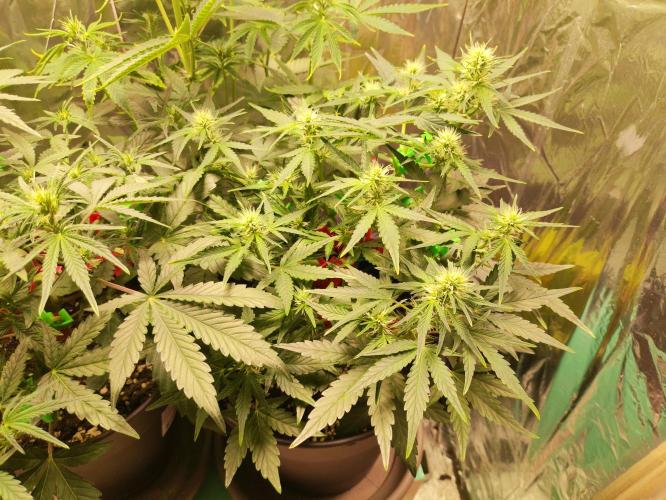
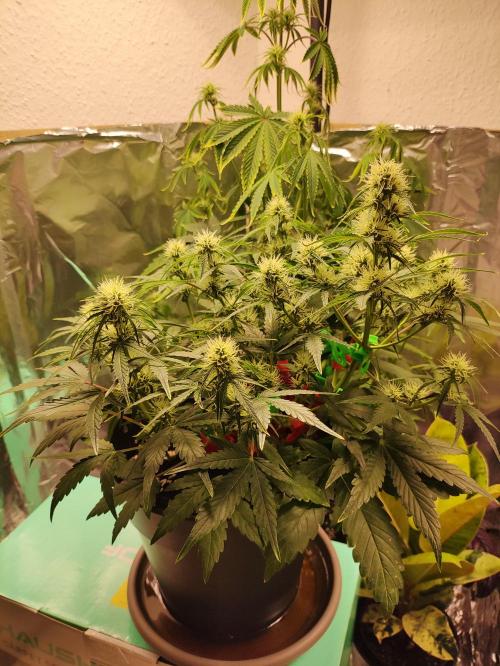
This is plant #1/3.
She obviously grew the most buds, which are also the biggest and most developed ones out of all plants. There are small signs of nutrient defiency showing at the tip of the leaves, so we adjusted the nutrient intake a bit further.


![Apple Fritter [Auto #1]](https://bucket.growdiaries.com/static/report/photo/301291/4ce44d5bd4c5db8f6ae1003952c5d7f5_150.webp)